How to create a POS Point

Estimated reading: 2 minutes 87 views

First you need to find POS on the left menu of your dashboard and click on it.

After you have clicked you will see the POS Dashboard. On the top menu you want to find POS Points and to click on it.
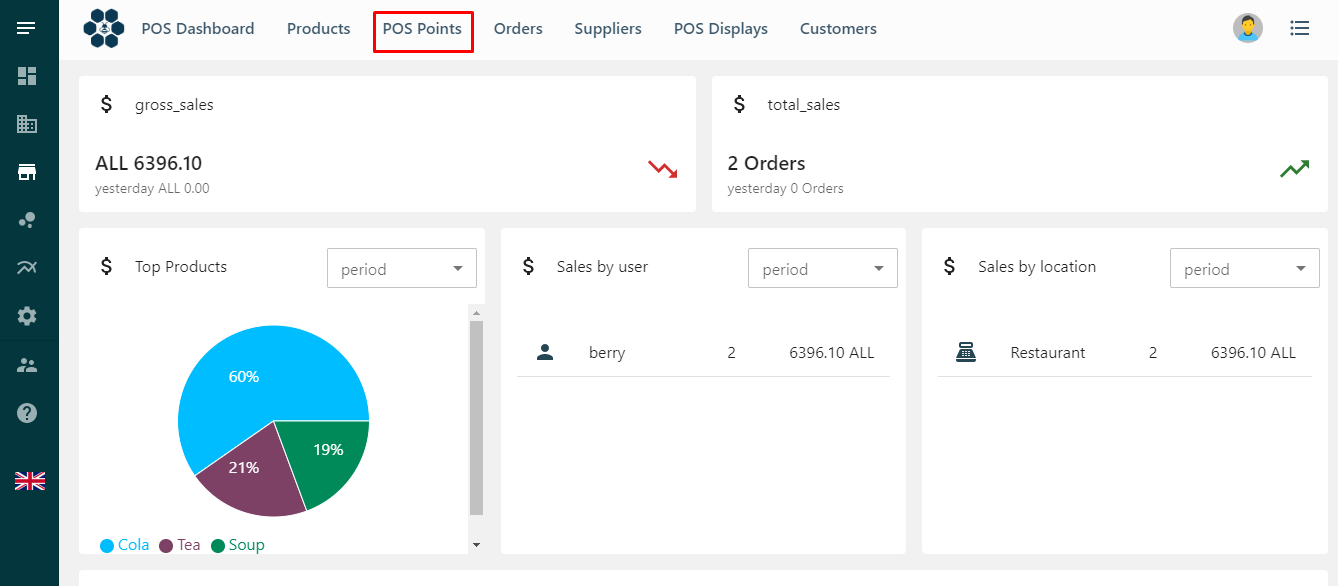
Now you will see an empty page with a big plus sign. Click on the + sign.

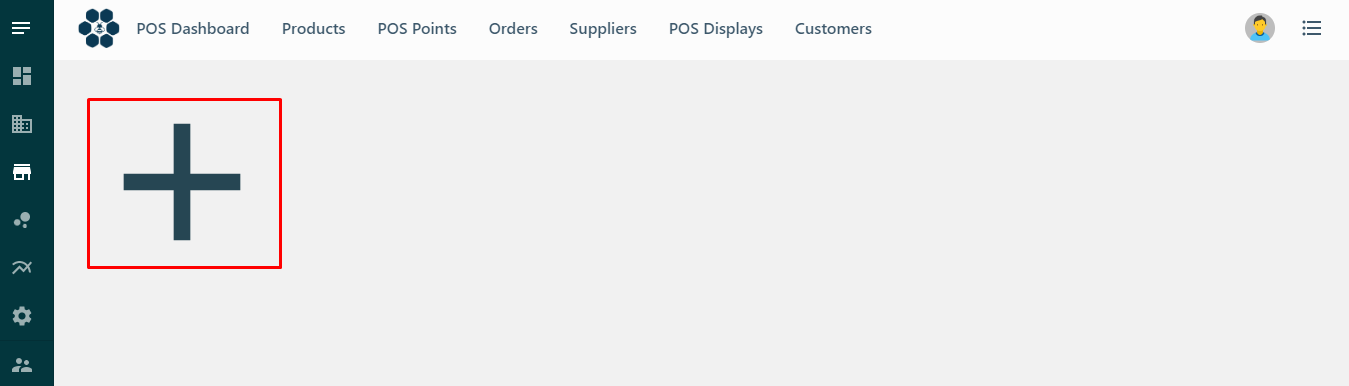
Now you need to fill in the information for your POS point. It is mandatory to add a name to your POS point. You can customize your POS point however you want by turning on the :

  • Is Active

    It indicates that POS Point is active and ready for use.

  • Waiter Logout

    If active, the user will be logged out after saving or paying an order.

  • Course Management

    If active, you can manage the order by courses.

  • Has Tables

    If active you can add tables depending on how many you have in your ambient.

  • Always Finalize

    If active, all the receipts will be fiscalized.

  • Different User Order

    If active, users won't be able to open each-others open tables.

Leave a Comment

Share this Doc

How to create a POS Point

Or copy link

CONTENTS
en_USEnglish